I knew I wanted to put some sparrows on the t-shirt, but where? What method would I use? Hmm...
Taking a page from traditional tattoos I decided to put the birds on the shoulder area. I knew I didn't want to paint them on, and wasn't ready to attempt the Beads in a Bottle crap again. OH! Embroidery! I've never done that before and this is all about practicing, right?!? Well hell. Here I go...
If you want to try embroidering something, here's what you'll need:
embroidery floss
needle
embroidery hoop
interfacing (iron-on or tear away or water soluble)
disappearing ink fabric pen or pattern transfer paper
design of some kind
*Sorry I didn't take pictures of the process, but there are several online
tutorials on this stuff (I decided to blog about the t shirt after I already started all of this, so I don't know if I want to go the how-to route or the just telling you what I did like the
skull a day guy)...just remember if I don't explain something well enough
Google and the Library are your friends!* And back to your regularly scheduled blog!
 |
| This is the picture I found. I resized them printed the bad boys out. |
I also reversed the image so the white lines were black and easier to see under the t shirt. Then for some bizarro reason I tried pattern transfer paper. It worked, but not really. So I went back over the image with one of those purple air soluble disappearing ink pens. If you use a regular pen, make sure you embroider over the image to cover it, or use the ancient Chinese secret to getting rid of ink. If you know what it is, please tell me. No, seriously, tell me.
Now the image was on there and I had my floss colors all picked out it was time to start this rodeo...
Make sure you have enough interfacing so it's bigger than the hoop. The interfacing helps to keep the fabric from stretching whilst in the hoop. For the blue bird I used iron on, but I didn't iron it on.
I used a simple back stitch since I was used to it from my cross-stitching youth.
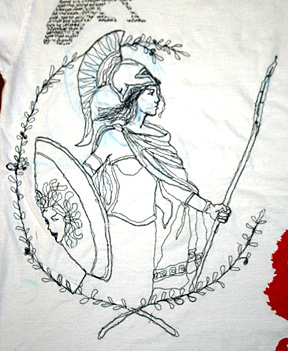
I used tear-away interfacing for the green bird. Honestly I don't know how I feel about this stuff. It's nice and stiff (what girl doesn't like something stiff?) but it's a pain to tear away. So if you use it, make sure you use towards the back of the t-shirt. You'll see why I say this in the Athena post.
For the eyeballs I used black Beads in a Bottle paint instead of a french knot. Just make sure you don't iron over the paint like my genius self did.